

PDF Compression vs PDF Conversion: What's the Difference?
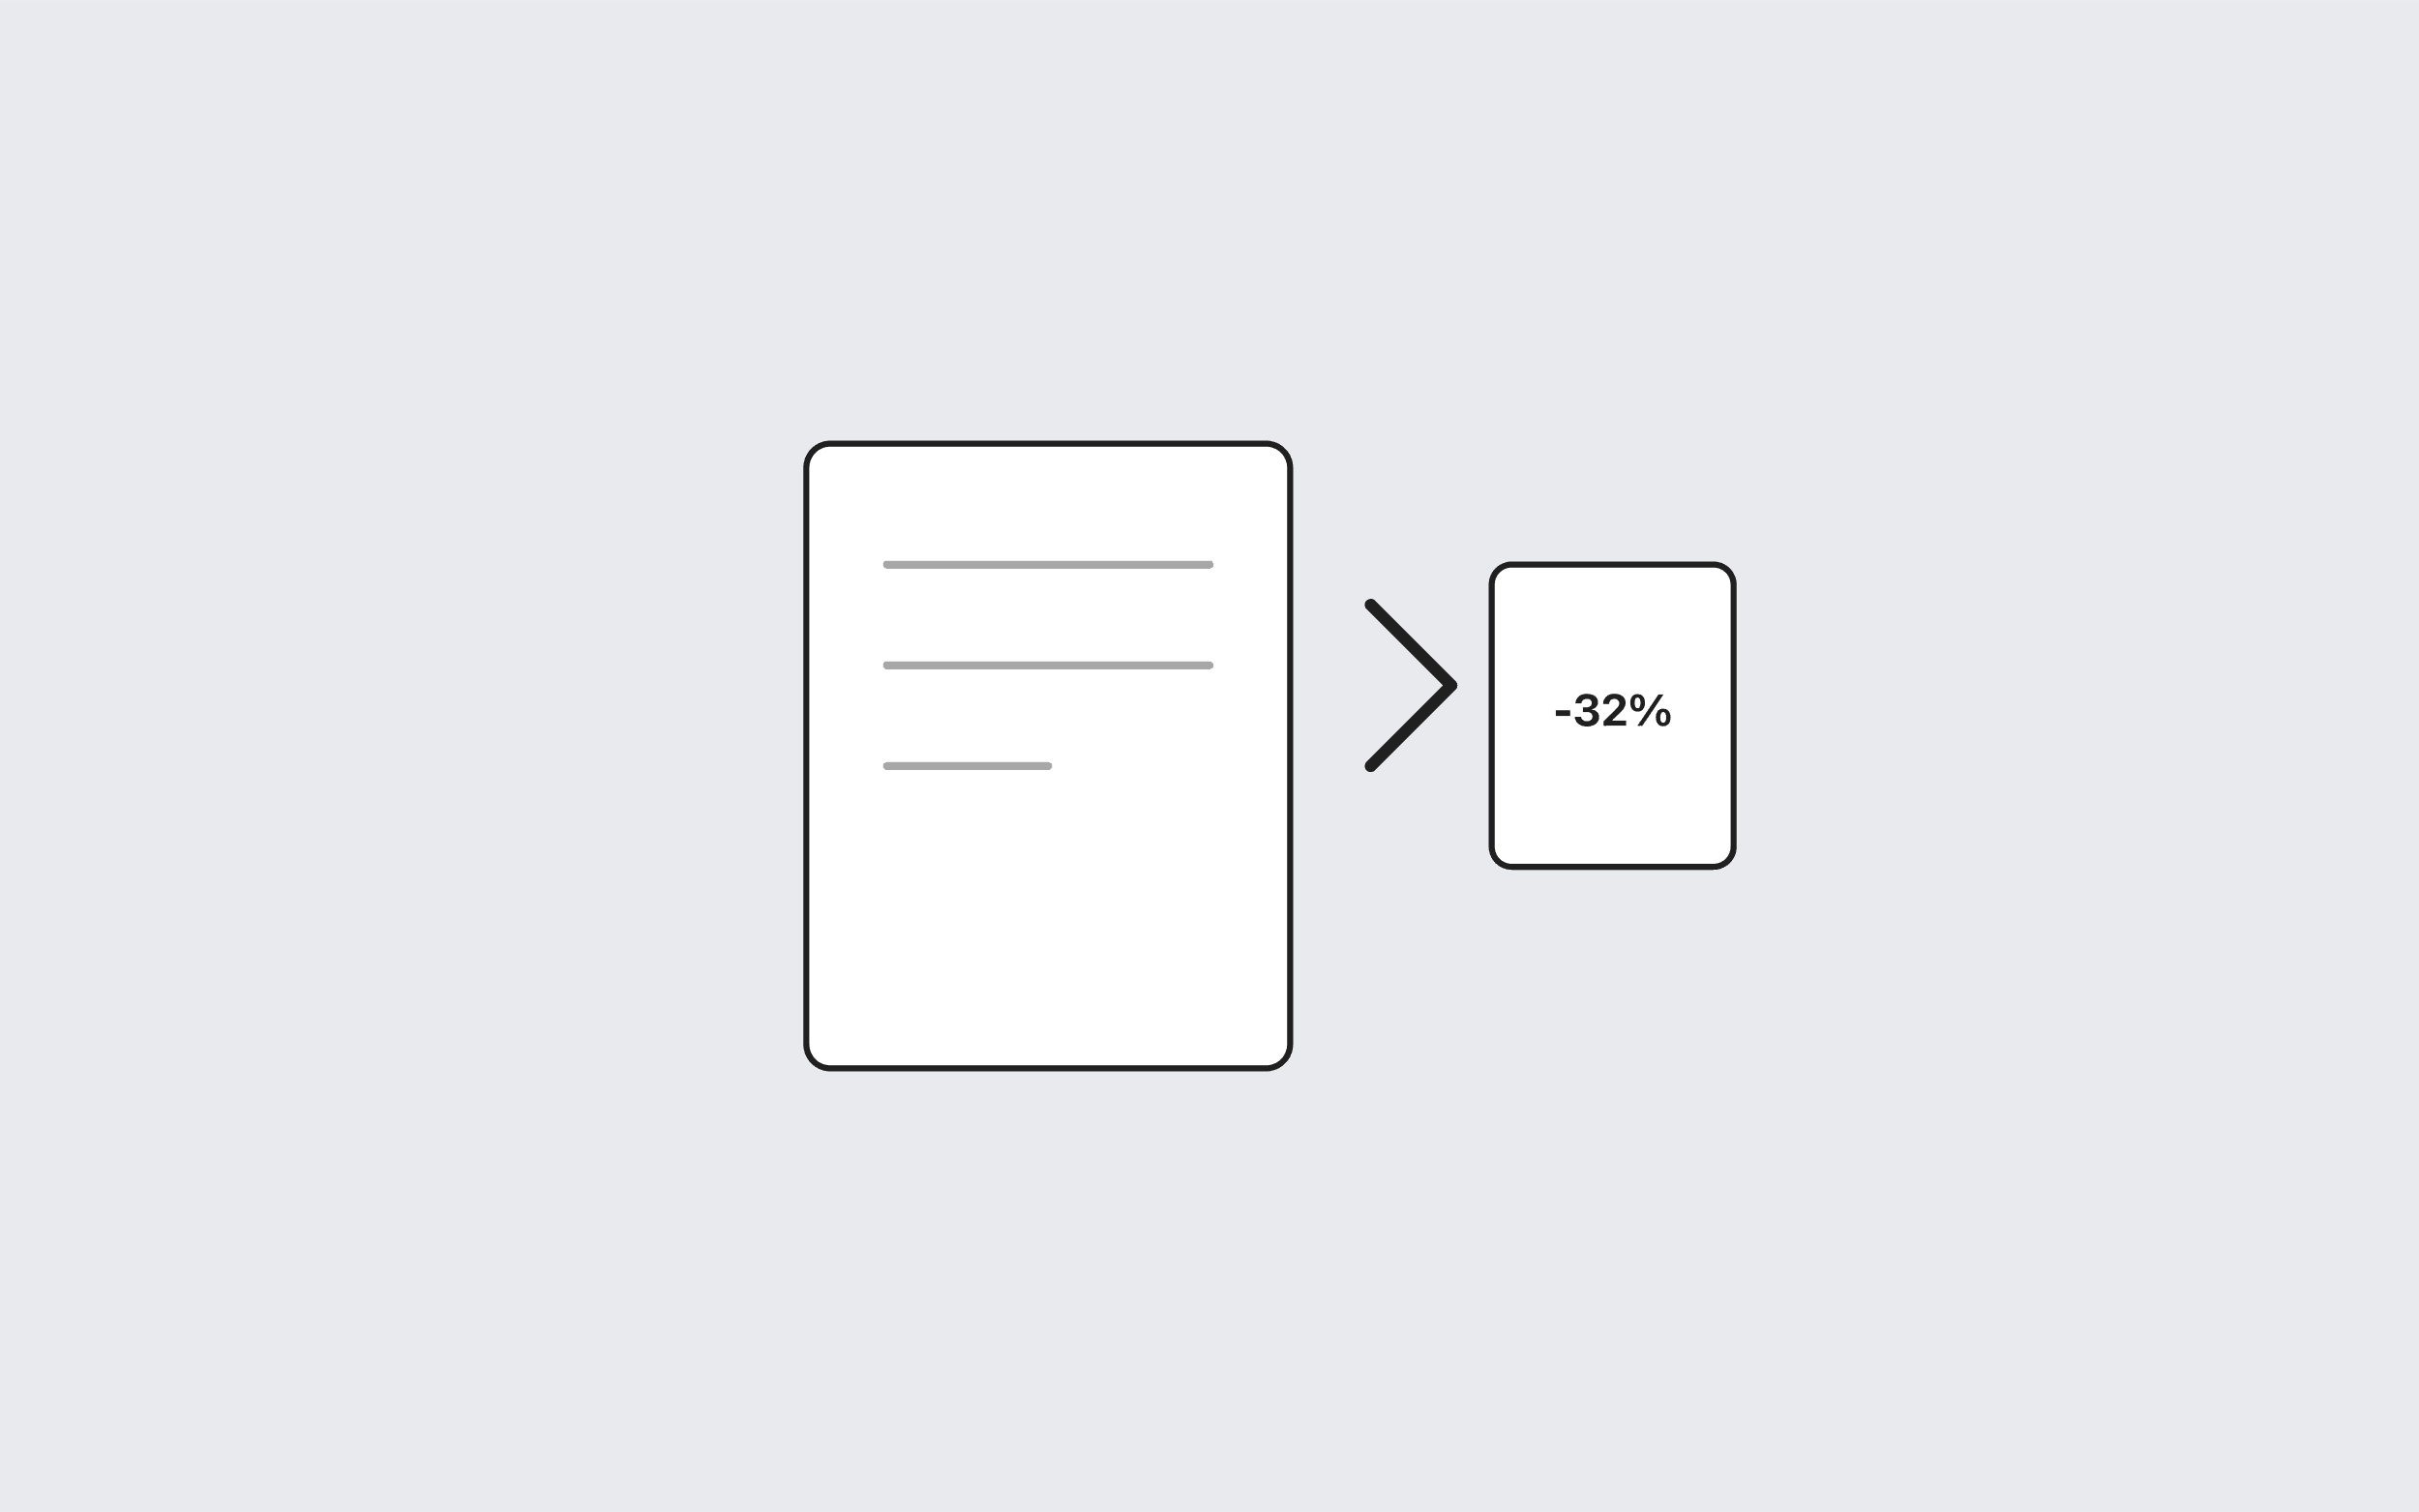
PDF compression keeps your file a PDF and tries to store the same content in fewer bytes. PDF conversion changes the format, either turning pages into images or building a new PDF from images. Choose compression when you need the text, links, and quality intact. Choose conversion when you need pictures of pages, or when a scanned PDF won't shrink any other way. In Toolstik, compression is the PDF Compressor, and conversion is PDF to JPG plus JPG to PDF.
Try it now
PDF Compressor
Loading tool…
Quick decision table
| Your situation | Best option | What you keep | What you lose |
|---|---|---|---|
| Need a smaller PDF, text must stay selectable | Compress | Everything | Nothing (but savings vary) |
| Recipient only needs some pages | Extract pages, then compress | Everything on kept pages | The other pages |
| Need page images for slides, social posts, or a website | Convert PDF to JPG | The look of each page | Selectable text, links, PDF format |
| Scanned PDF is too big, and compression barely helped | Round trip: PDF to JPG at lower quality, then JPG to PDF | A PDF of the pages | Some image quality, any selectable text |
| Have photos or scans that need to be a PDF | Convert JPG to PDF | The images as they are | Nothing |
| PDF is too big for an upload limit, every page needed | Split into parts, compress each | Everything | Single-file convenience |
What compression means here
The Toolstik PDF Compressor loads your PDF and saves it again using a more compact internal layout called object streams. It doesn't touch images, fonts, or text. The result screen shows Original size, Output size, Saved, and Reduction. If the rebuilt file isn't smaller, you'll see PDF is already optimized and keep your original.
That approach is lossless: no blurring, no missing content, and no visible change at all. The trade-off is that savings come only from the file's structure. A PDF made mostly of text and vector graphics, especially one written inefficiently by the software that created it, has the most room to shrink. A PDF made mostly of photos or scanned pages has little, because the images make up most of the bytes and stay exactly as they were.
Desktop tools such as Adobe Acrobat's Optimize PDF or macOS Preview's Reduce File Size filter also downsample and recompress images. That's lossy compression: bigger savings, but with some loss of quality. Toolstik's compressor doesn't do that. If you need image-level savings in the browser, the round trip below is the option.
For a full walkthrough, read how to compress a PDF online.
What conversion means here
PDF to JPG
PDF to JPG draws every page as an image using PDF.js and saves it as a JPG. The JPEG quality slider goes from 50% to 100% and starts at 85%. Pages are rendered at 1.5 times their PDF size, so a US Letter page (612 × 792 points) becomes a 918 × 1,188 pixel image.
Use it when the destination wants images: a slide deck, a website, a social post, or a document editor that can't embed PDFs. Don't use it just to "make the file smaller". A 10-page text document is often smaller as a PDF than as ten JPGs, because text is stored as characters rather than pixels. See how to convert PDF to JPG for details.
JPG to PDF
JPG to PDF takes JPG or PNG images and places one per page, with Page size (A4, Letter, or Fit to image), Orientation, and Margin (pt) options. It embeds each image without re-encoding it, so the PDF is roughly as large as the images combined. Shrink the images first with the Image Compressor if size matters. The JPG to PDF guide walks through the settings.
The round trip: re-encoding a scanned PDF
When a scanned PDF is too big and the compressor reports PDF is already optimized, you can re-encode the pages yourself:
- Open PDF to JPG, set JPEG quality below the default, for example 70%, and convert. Download the ZIP and unzip it.
- Open JPG to PDF and add the page images in order. They're named
name-page-1.jpg,name-page-2.jpg, and so on. - Choose the same Page size as the original and set Margin (pt) to 0.
- Click Convert to PDF and compare the new file's size with the original.
Step 3 matters because of how the numbers line up. A Letter page exported at 1.5× is 918 × 1,188 pixels. On a Letter page with zero margin (612 × 792 points), the image is scaled by 612 ÷ 918 = 0.667, and 1,188 × 0.667 = 792. The image fills the page exactly, so your pages come back at their original size. If you chose Fit to image instead, each page would be 918 × 1,188 points, which is 12.75 × 16.5 inches. That's much bigger than Letter, and it would print scaled.
Be clear about the costs:
- Text is no longer selectable or searchable. Scans usually had no real text anyway, unless OCR was applied. If yours was OCR'd, that text layer is lost.
- Links, bookmarks, and form fields are gone.
- Resolution is fixed at 108 pixels per inch. That's fine on screen, but soft for small print. If the original scan was higher resolution, you're trading detail for size.
- The result isn't guaranteed to be smaller. If the original scan was already heavily compressed, re-encoding can make it larger. Compare the sizes before you replace anything.
Never do this to a text-based PDF to save space. You'll often get a bigger file and lose the text.
Cutting pages beats both
Before deciding between compression and conversion, ask whether every page needs to go. The PDF Splitter can extract only the pages you need into a new file. That's lossless, quick, and often the biggest saving. See how to extract pages from a PDF. If every page is needed but the file exceeds an upload limit, split the PDF into parts and send them separately.
Recommended order of operations
For most "this file is too big" problems, work in this order and stop as soon as the file is small enough:
- Remove unneeded pages with the PDF Splitter.
- Compress with the PDF Compressor. It's lossless, so there's no downside to trying.
- Split into parts if a hard upload limit still blocks you.
- Round trip through JPG only for scanned documents, and only if losing text and some sharpness is acceptable.
- Use a desktop tool such as Adobe Acrobat or macOS Preview if you need fine control over image downsampling.
If you're assembling a document from several files, merge them before compressing so you only compress once.
Privacy
All five Toolstik PDF tools mentioned here run in your browser using pdf-lib and PDF.js. Your files stay on your device for every step, including the round trip. For an overview of the whole toolkit, see the best free PDF tools online.
Frequently asked questions
Tools in this guide
PDF Compressor
Reduce PDF file size in your browser by rebuilding the document structure.
PDF to JPG
Convert every PDF page to a JPG image. Set quality and download as a ZIP.
JPG to PDF
Convert JPG and PNG images to PDF with page size, orientation, and margin controls.
PDF Splitter
Split a PDF into separate files or extract page ranges. Processed locally in your browser.
Keep reading
- PDFHow to Compress a PDF OnlineCompress a PDF online without uploading it: rebuild the file in your browser, compare the before and after sizes, and download only if it got smaller.
- PDFHow to Convert PDF to JPGConvert PDF to JPG in your browser: export every page as a JPG image, set JPEG quality from 50 to 100%, and download a ZIP. Free, with no uploads.
- PDFBest Free PDF Tools Online: Merge, Compress, Convert & SplitThe best free PDF tools online for merging, splitting, compressing, and converting PDFs, all running in your browser with no uploads, sign-ups, or watermarks.